How to Make Comics
Part 3 - Roughs to Pencils:
This is the third part of the tutorials I've been writing about how I make comics. If you haven't already read the last part, From Script to Panels, feel free to go back and read that section now.
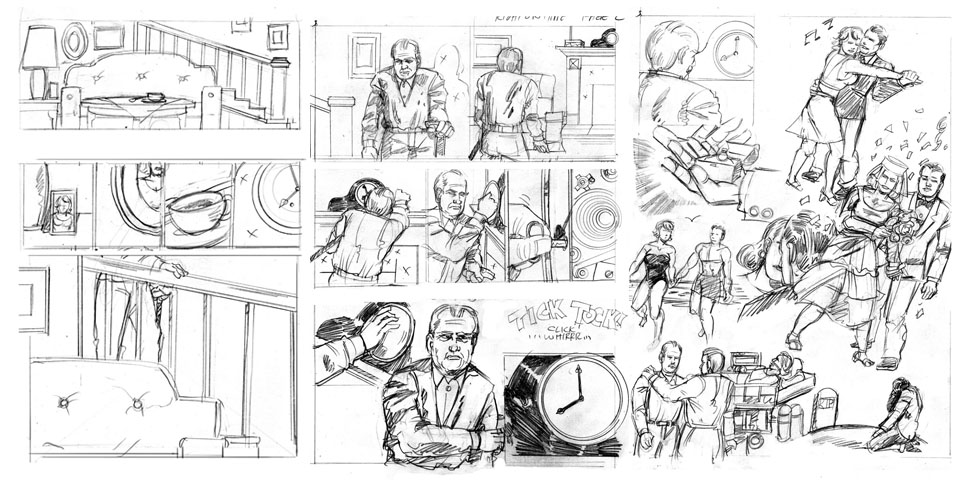
Here's my rough thumbnails for the first 3 pages:
(Click on the small image to see a larger version in a new window)

Now you have a good idea of what panels are on what page, what will fit in the panels, where objects are generally placed in the panels, but there's very little detail, and quite a few things to fix and refine. In fact that's what this whole process consists of; from rough thumbnails, to pencils, to inks, to colors and final pages... what you're doing is refining your drawings and story.
So how do you take these tiny (8 1/2 X 11) drawings and scale them up to the 11 X 17 inch comicbook pages (bristol board) you'll be using for the final artwork? Here's my method.
Scan the drawings (at a resolution of at least 150dpi) into some sort of image-editing software. I use Photoshop, but you could do this in any decent image-editing program, like Gimp. Clean up any annoying stray pencils marks, and make minor fixes to proportions or any glaring mistakes now. Then scale and crop your scan so that it all fits on a 6.625 X 10.25 inch (comicbook-sized) page.

Now we're going to use your computer as an enlarger. Print the page, setting up the page as a horizontal (landscape) 8 1/2 X 11 inch page, and scale up the output to 150%. Remember, this is in the print dialog; you're not changing the original page at all. In Photoshop CS3, you can then position the page so that the top part of the blown-up page fills the whole wide page. Print that. Go to print again with the same settings, but move the output so that the lower half of the page fills the wide page. Print that.
What you end up with is 2 sheets that you can tile together using scotch tape. Take this blown up version and tape it to the back of a standard page of 11 X 17 inch comicbook bristol board, using a lightbox to position it.
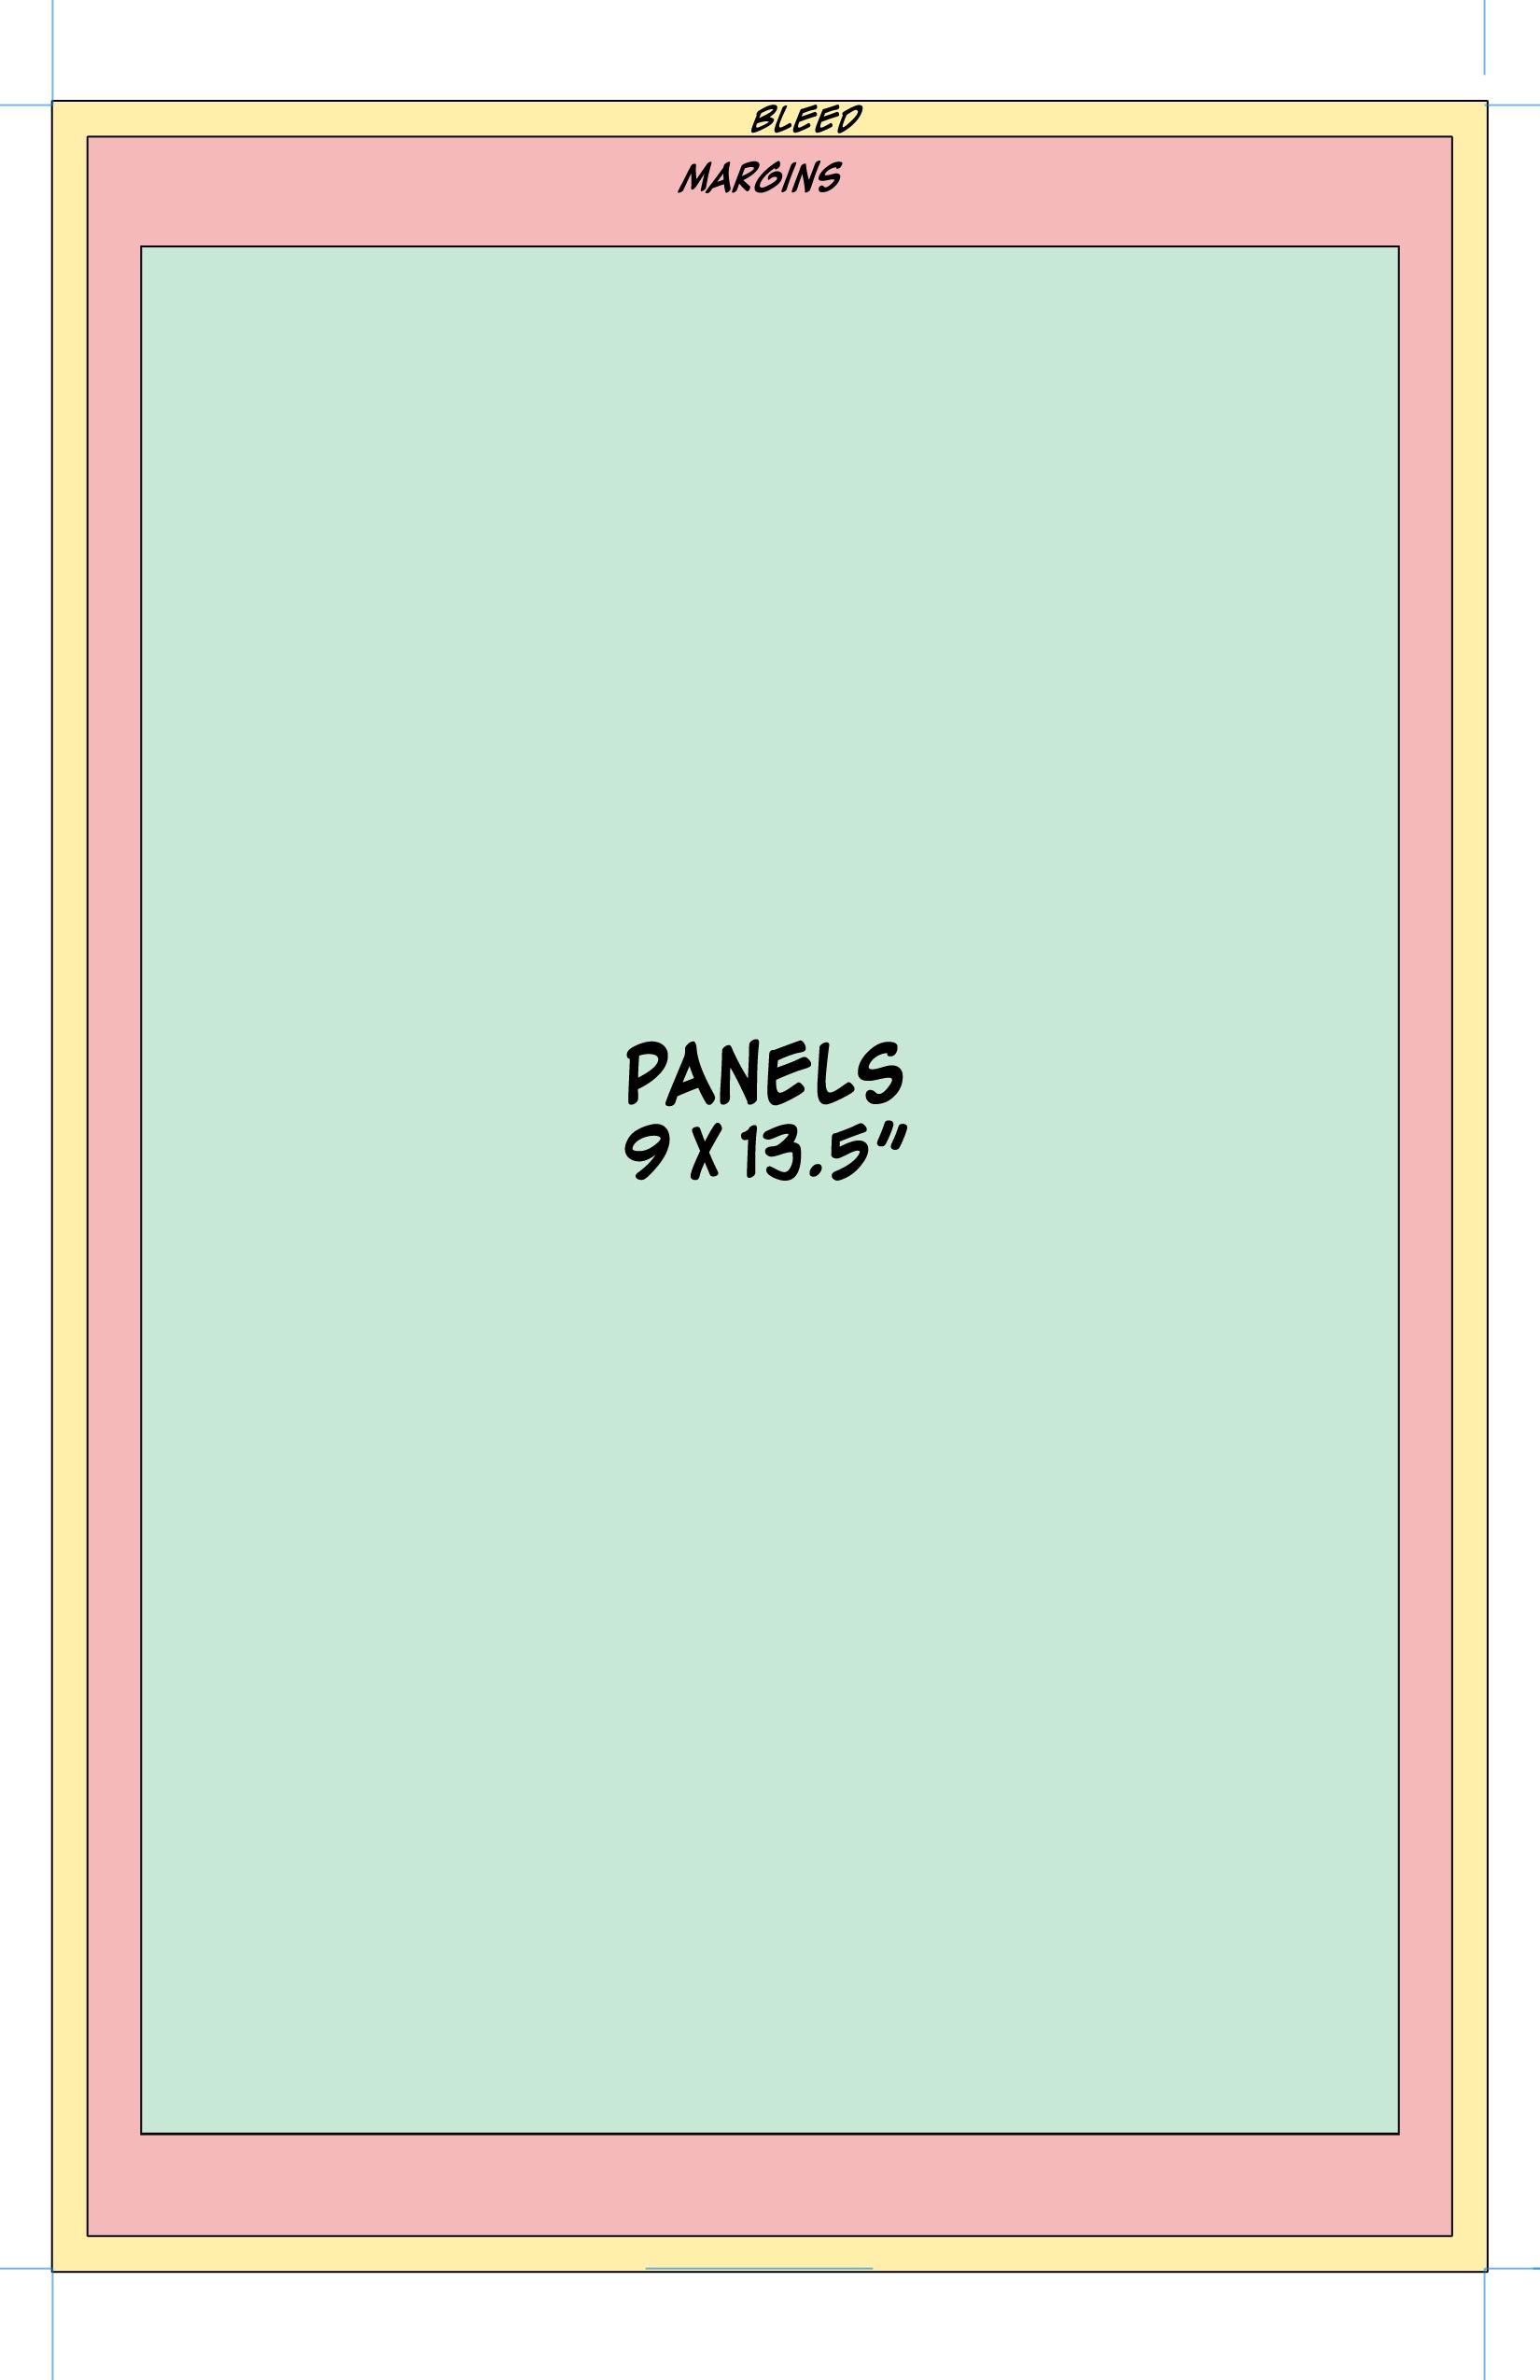
Let's take a break and talk paper sizes for a minute, because, frankly, it still makes my head spin. Now, a final trimmed US comic is 6.625 X 10.25 inches. An untrimmed page (with bleed) is 7 X 10.5 inches. Since the dawn of time, comic artists have worked at a larger size, and shrunk it down for reproduction. Generally, they work on 11 X 17 paper, but the actual content area (where the panels sit on the page) is something like 9 X 13.5 inches (although my one piece of original Kirby art measures 10 X 15", so that can vary). Whew!

Click on the illustration at the left to see what I mean. You can lay out these margins yourself, or, like me, you can use a prepared pad of bristol board made specifically for this task. I love this line of paper from Canson; it's cheap, readily available at any art store, and gets the job done.
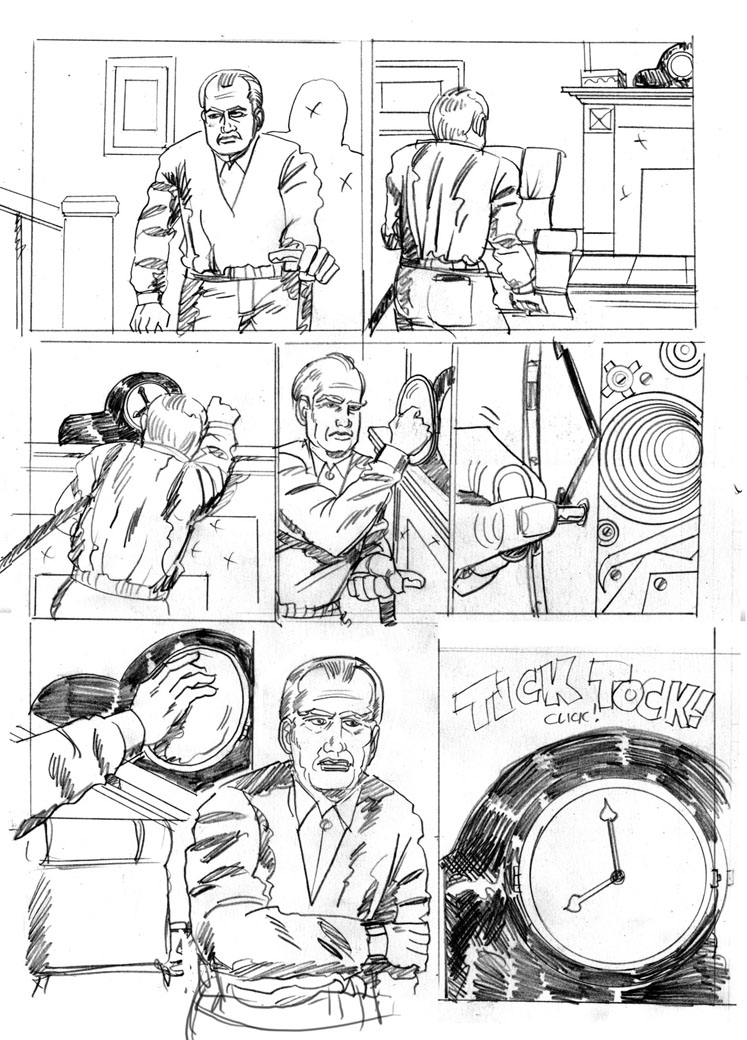
Now back to the drawing. Using your lightbox, redraw each of the panels, refining your drawings and adding details and correcting any mistakes in perspective or anatomy. This is the time to go to town, especially if you plan on handing this artwork off to an inker for final finishing. If, like me, you do your own inks, you can be a little looser, knowing you'll make the right decisions when you go to do the inks. Always be sure to maintain space for any dialog that will come later; you don't want your best drawing covered up by a word balloon, now do you?
Here's where I depart from the norm, a little. In the old days, and even today, some artists will draw their panel borders in at this point, or even sooner, before expanding out their drawings. I like having the freedom to resize and re-crop my panels when I lay out the finished page later, so I draw the panels a little "fat," not entirely respecting the panel borders. Click on the image on the right to see how I penciled the second page. Now, lots of folks probably pencil tighter than I do, but this gives me the detail I need to proceed with the inking.
